

 Think of all the people in the world who passionately belt out the lyrics to their favorite song in the shower. Whether it is a screech or a harmonious tone they let out, we can’t deny how profound the vocals of a song are… It is the way many people connect to music. As a result, professional sounding vocals are virtually the epicenter of many genres. And achieving this in your home music studio recordings is definitely something to aim for.
Because of this, this article discusses the 11 best ways to achieve professional sounding vocals in your studio recordings. We will take a look at both the recording process itself as well as tips to use for processing/mixing vocals afterward. If you want to find out how to get those industry worthy vocal recordings, read on.
1. The Setup
I really won’t harp on this for too long, but this is totally worth a mention if you are just starting out. Before we get into the technical nitty-gritty of processing vocals and whatnot, consider your space. If you’re already working from a studio environment that has been treated for acoustics and soundproofing, then great! However, if this is not the case, this is an important aspect to work on before recording.
Room Acoustics
The acoustic treatment of a studio has a significant impact on whether or not you get professional sounding vocals from your day’s work. This helps to prevent excess resonances (or reflections) in the room from tainting the quality of your microphone recordings.
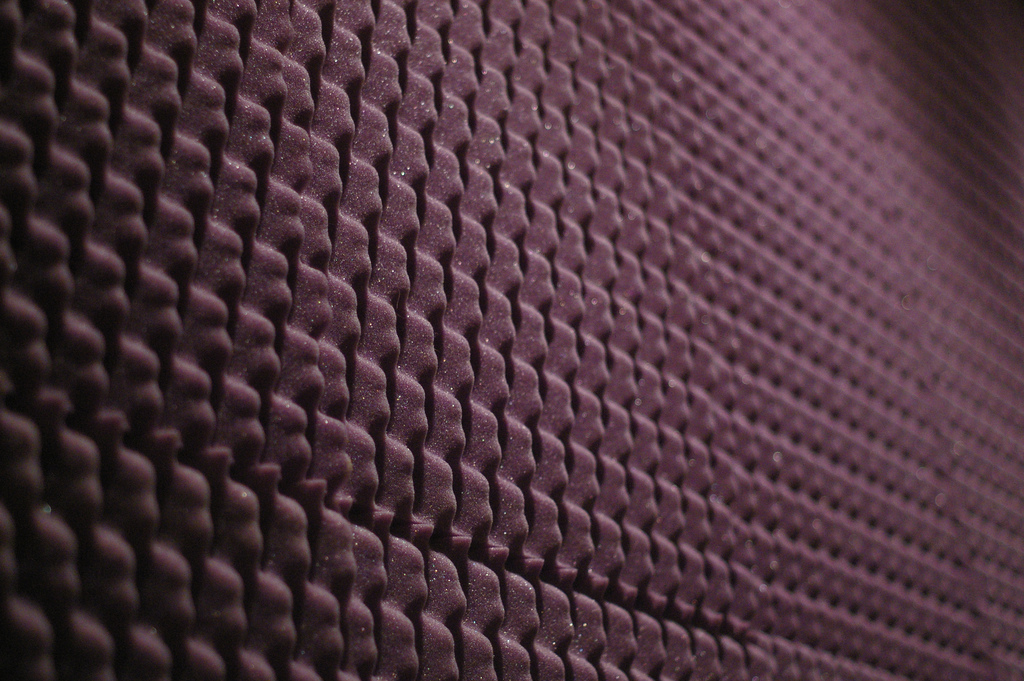
Acoustic Treatment for Music Studios
Sound Proofing
Similarly, soundproofing helps a great deal when it comes to recording crisp clear vocals. By preventing exterior noises from seeping into your studio, you also prevent microphones picking up exterior sounds
Alternatives
Treating the acoustics of a room as well as soundproofing can really be on the costly end of things. Especially if you’re looking to record right away. You can try alternatives such as room acoustics using carpeting, which is not ideal… But something is better than nothing. (You can read more about how to do this here). Alternatively, there are also budget-friendly ways to soundproof your studio. Read more about this here.
2. Microphones and Pop Filters
While we’re on the note of analog ways to produce professional sounding vocals, let’s consider the gear. Recording the vocals of your music is achieved through the use of microphones (obviously)… So the type of microphone you use also has a great deal to do with the quality you achieve in the end.
Now, I am absolutely not saying that you need to run out and splurge on the most expensive ribbon mic in the universe… No. Not at all. I’m saying, consider the type. What would be best suitable for your vocalist? Would a condenser or a dynamic mic be the better option? What is the difference between the two in the first place? Also, think about using shields for better clarity.
Use a Pop Filter
Pop filters are are an incredible little tool for recording crisp vocals with amazing clarity. They get rid of those plosive “P” and “B” sounds that send bursts of air rushing toward the diaphragm of your mic. These create a really ghastly sound if your mic doesn’t have some kind of covering. Find out more about pop filters on the resources page.
Dynamic Microphones for Vocal Recording

The Shure SM57
This is a common choice for studios that are just starting out. Dynamic mics are typically a little more robust in that they tend to handle greater sound pressure levels a lot better. If you’re dealing with louder, booming or belting vocals this could be the better option (although not strictly). Particularly if you’re going for one microphone at the moment, dynamic mics are great all rounder microphones in terms of purpose. Have a look at the Shure SM57 on Amazon. This is a really popular choice in this regard.
Condenser Microphones for Vocal Recording
Condenser mics typically tend to be a little costlier than dynamic microphones. It is a common belief that condenser microphones are a lot more sensitive than dynamic mics… Which, to some extent, is true. However, many higher-end models are able to handle sound pressure just about as well as dynamic mics. Condenser microphones generally do better with the subtle higher frequencies, so perhaps if your vocalist has more of a higher, finer set of pipes this could be the way to go.
If you’d like to learn more about different microphones by purpose, as well as recommendations, check out this article.
3. Import the Raw Vocals into the DAW of your choice
A natural next step. Now that we’ve worked out the kind of physical and environmental aspects of your recording, let’s address the digital side of things.
Most Digital Audio Workstations pretty much perform the same function when it comes to mixing and processing vocals. So the principles I’ll be discussing here would generally apply across the board. However, if you’re really looking into putting some thought into the best DAW, check this top software recommendations article.
At this stage, we should have great raw vocal recordings to start with, attributed to the face that you’ve recorded in a well-treated room with a good setup. It’s time to bring those recordings into your software for processing and getting those professional sounding vocals to a tee.
4. Remove Resonances/Sound Reflections
In the event that you don’t really have a well acoustically treated/soundproofed room to work in, this may be a very critical step. It can also be a little difficult to do this without creating some alteration to the primary recorded sound itself.
You can eliminate these unwanted sounds in the following ways:
-
- Firstly, you can EQ out the unwanted resonances and frequencies of your audio. You would do this by narrowing the band of the frequency as far as possible and then boosting it. Once you’ve found the frequency you don’t like (this is the resonance), notch it all the way down. Some call it the boost and sweep technique.
-
- Many DAW Softwares also often come with their own adaptive noise reduction tools.
-
- A simpler method of doing this is by adding silent spaces. If there are distinct gaps between the vocals (like breathing in between) you may consider adding silent spots in those areas
-
- However, a much simpler technique with a professional outcome is to simply get an automated plugin that would do this for you.
5. Apply Compression to the Vocals
Compression serves a great purpose in producing professional sounding vocals. It is one of the most commonly used processing techniques when it comes to recording, mixing and mastering.
It helps with:
- Making the recorded vocals clear and understandable
- It controls the extreme highs, such as those found in a snare
- It helps with the dynamic consistency in levels so that the listener doesn’t have to keep readjusting the volume. This is the result of vocals getting louder and softer as the vocalist sings.
To create dynamically consistent vocals, you want to make use of vocal compression to get this right. The vocals in modern day music often need to be consistent. Without this, you’d likely be far gone from professional sounding vocals. It is also best to compress the vocal recordings with automation, although you can achieve this with compression as a stand-alone. (Much more work, just a heads up).
Singers are generally incredibly dynamic with their voices. They could go from faint whispers to belting out highs in a track several times over. You don’t really want to manually keep track of all that.
To have that dynamic consistency, and have your vocals loud clear, use gain automation to ride the levels prior to compressing.
6. Use an Audio Limiter
You want to use this very subtly after your application of compression. To prevent signal peaking, limiting is used as another form of compression to manage the dynamics. A compressor will perform the function of evenly reducing the “highs” of the vocals and keeping them below a threshold. A limiter will, thereafter, completely ensure that no signals/frequencies go above this threshold.
So, in short, the difference between the two is that compressors provide a smooth evasion of higher levels in the vocal track. Whereas a limiter would work as a safeguard against significantly increased peaks.
7. Apply Multiband Compression
Multiband compression serves the purpose of splitting up the various frequencies found within a track, and grouping them into different portions or bands. By using a multiband compressor, it becomes easier to manage and compress particular frequencies if and only when they appear.
This is different to single band compressor in that it does not just remove particular frequencies across the board. But instead, it is tailored to different bands of frequencies. For example, the lows/bass grouped together, and the various highs grouped together.
8. Add some Saturation
In order to enhance the top end or vocal highs, adding a little saturation could really effectively do the trick. This can make the vocals sound a little brighter and interesting, as we have virtually deadened the vocal by now.
9. Add Some Color: Creating Width and Depth
After this stage, beyond implementing all the above processes to your recording, we’re left with very dry, less than vibrant sounding vocals. It is really good that we have gotten rid of all the resonance, reflections, and that we have applied compression. But how do we add a little life to our sound?
Adding a little reverb for professional sounding vocals
To liven up your relatively lifeless vocal, you need to create space in the recording. In other words, add some width and depth to vocal. One of the most common ways to do this is by adding some reverb to the recording. It is very important not to go overboard with this, you only want to add just enough.
To start, make the reverb as wet as you can. This will be controlled later through the use of the send, in order to manage how much of the reverb is ultimately sent. As far as the “send” is concerned, try to play around between the -20dB and -10dB range.
10. Using Delays Rather than Reverb
As an alternative to adding reverb, you could opt for adding delays to the vocal instead. It is arguable that in modern professional sounding vocals, delays are preferable. This is based on the fact that vocals should be more pronounced and intelligible. Reverb can sometimes have the inverse effect. Specifically, go for stereo slapback delays if you choose to head in this direction.
Delays assist with adding a little more life to the vocal recording in the sense that stereo width and space are added to the vocal recording.
11. Thicken the Vocal Track (Chorus)
To do this, ideally, you want to have the vocals recorded a few times by the vocalist, at least twice, and mix them together. Doing this gives your vocals a significantly fuller effect, as opposed to the “thin” single vocal we currently have.
However, if you only have a single track to work with, you can thicken the vocals by duplicating the vocal track. Thereafter, you need to go the same process described in the previous tips, in which we EQ, compress and add a little reverb/delay. You then want to take it about -20 Cents down. Bring the mix back up slowly until you have a light doubled effect. Overall this technique is not as ideal as simply recording the track twice as previously mentioned, but understandably, sometimes you have to work with what’s available.
Additionally, you may also want to consider aspects such as background vocals, although it may create a little more interest in a vocal track, it is not necessary.
Conclusion
Achieving professional sounding vocals is a pretty involved process, as we’ve detailed in this article. It takes time, and very often a lot of repetition until you get it right and get the sound you want. However, as indicated in the earlier tips, starting off with a well acoustically treated environment can eliminate much of the task of removing unwanted sounds and resonances after.
But ultimately, all the effort you put into your recording will really pay off when you have your industry worthy music out in the world.
If you’d like to know more about how to work in your studio efficiently and increase productivity, have a look at this article.